
We have a surfeit of cherry tomatoes coming out of our summer garden. I have actually taken to dehydrating them.
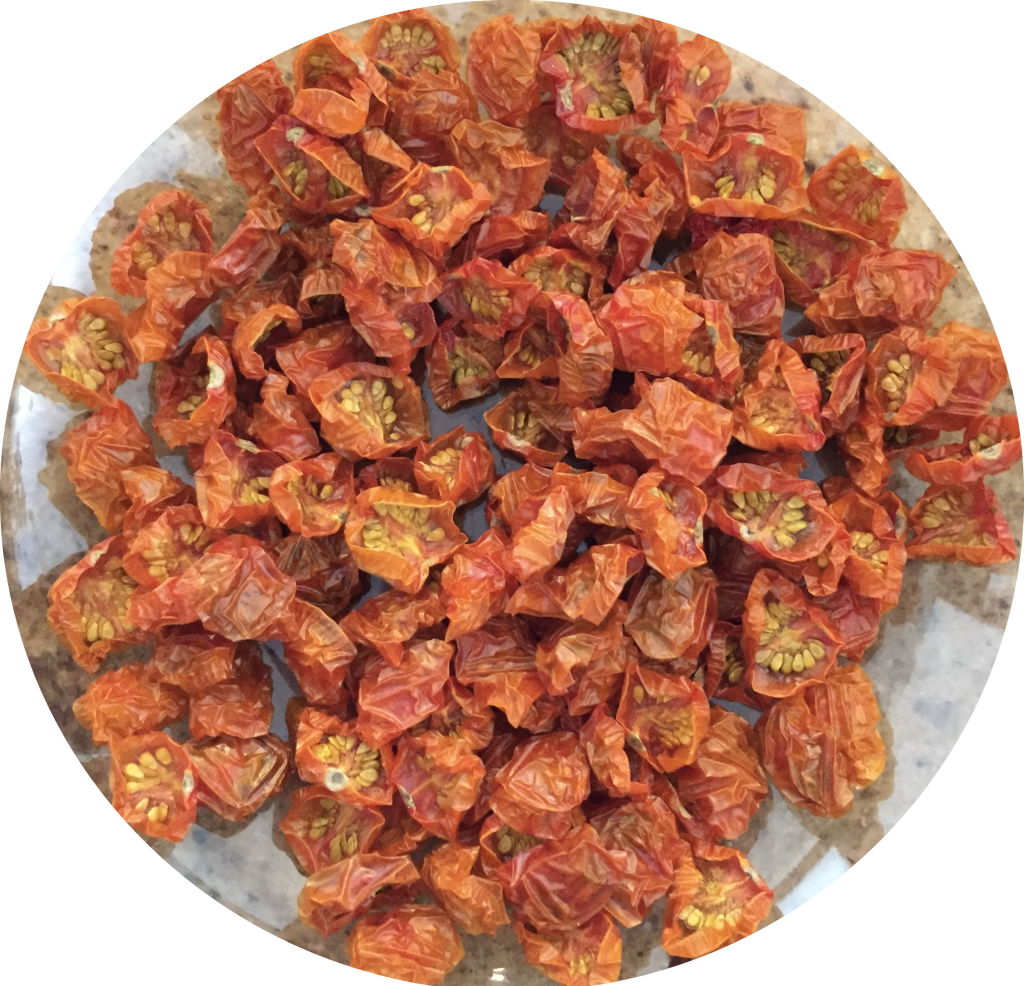
The texture of the dehydrated tomatoes really ends up depending on the temperature you choose to dry them at.
- Dry them at 130° to 135° F and you would end up with a crisp dried tomato
- Between 115° and 125°F you end up leaving a little bit of moisture to give it a slightly chewy texture
To actually process them, wash the tomatoes first and then halve them. If you want to sprinkle lightly with fine ground sea salt (personally I have done them with and without so I can pick and choose depending on the application).
Arrange them on your dehydrator racks without the pieces touching each other. Set to the appropriate temperature and turn on. Generally it takes about 12 hours. If you have multiple racks swap their order to even out the drying among the layers in the dehydrator.
After the drying process is complete, cool them at room temperature for a few minutes and then put them in a sealed ziplock bag for storage. I tend to store them in the freezer since we have absolutely no preservative in it.
The slightly chewy ones as a condiment on top of salads is spectacular. Also add them to omelets for that burst of acidity and sweetness. Your imagination is the only thing holding you back on what you can use the little flavour nuggets.
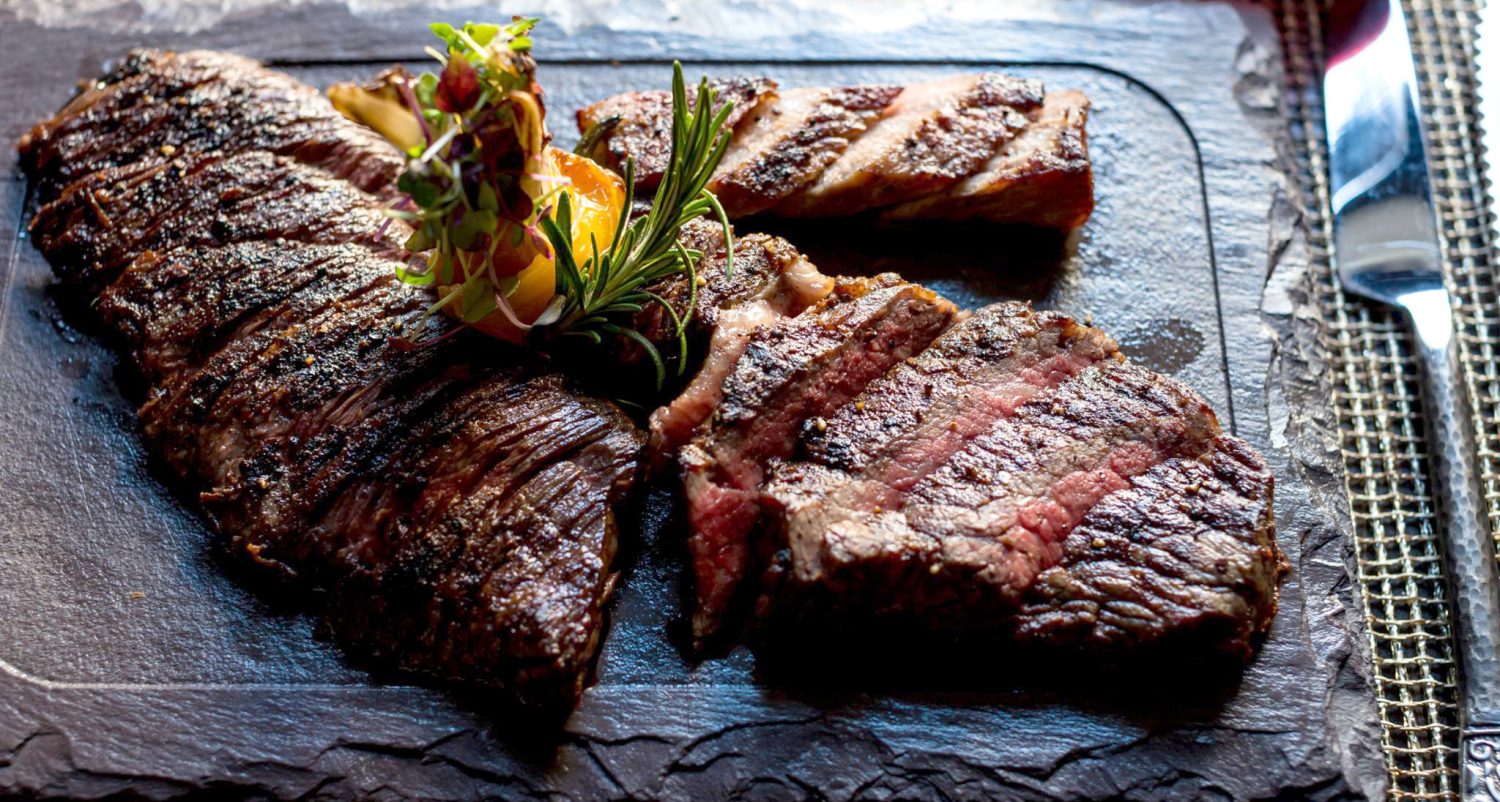
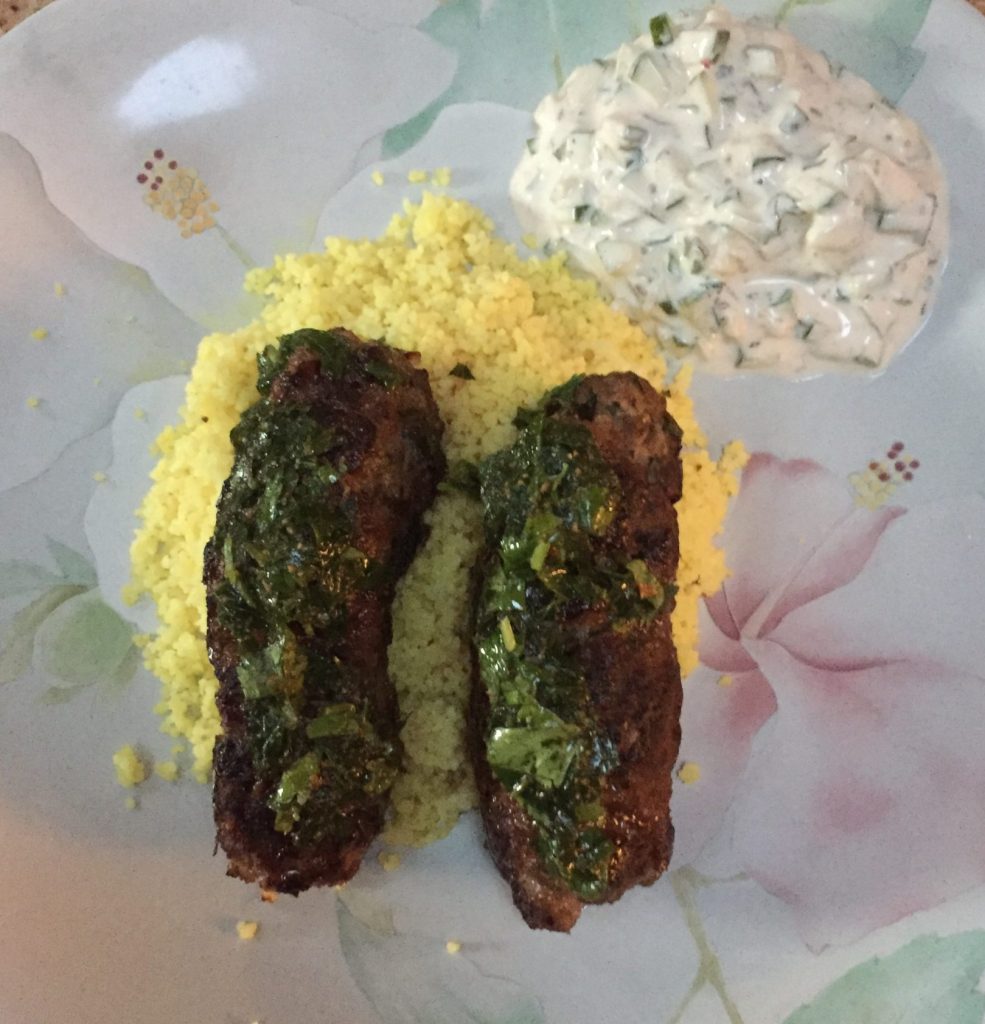
Ground beef Kebobs
A lot of the Middle eastern and North African cuisines produce Kebobs from ground meats; lamb mostly but occasionally goat. Beef is a completely acceptable substitute. This version is made with Ground beef and if I had to pin it to any one of the countries of the region, I would probably pin it to Morocco since I am serving it with Cous Cous.
There are really multiple parts to this dish. The Cous Cous, the kebobs themselves, the chermoula and the yogurt raita or tadziki, whatever you want to call it. I will post the Chermoula separately since it is a dressing that is useful across many many dishes and link it here
Ground Beef Kebobs
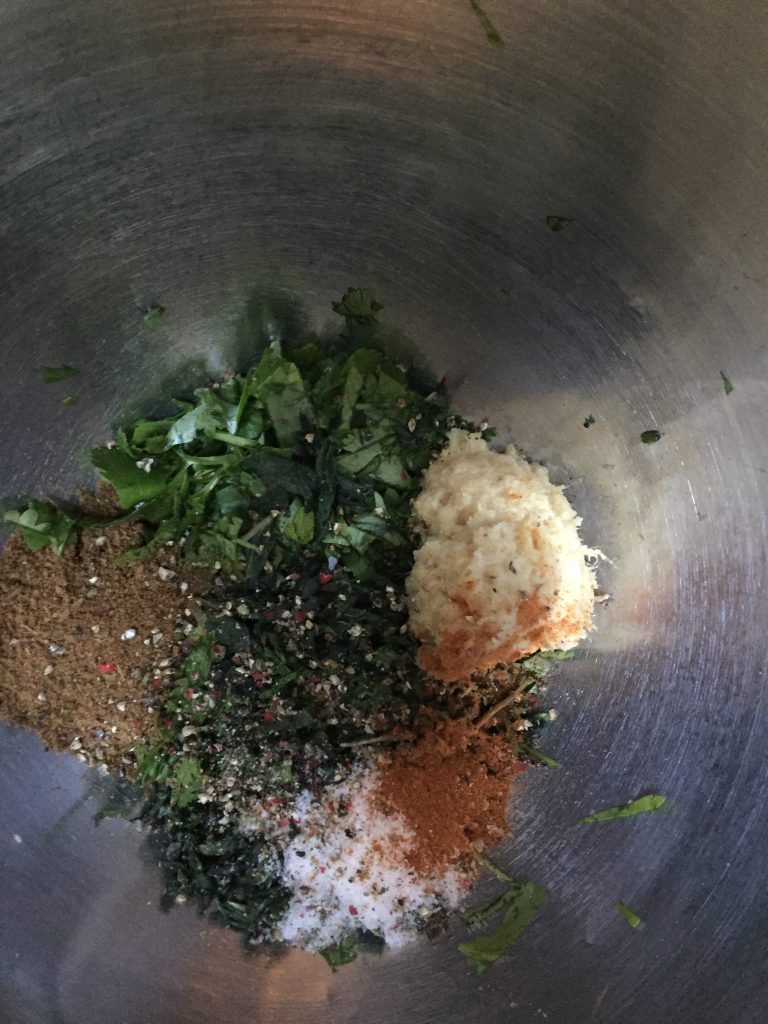
Ingredients
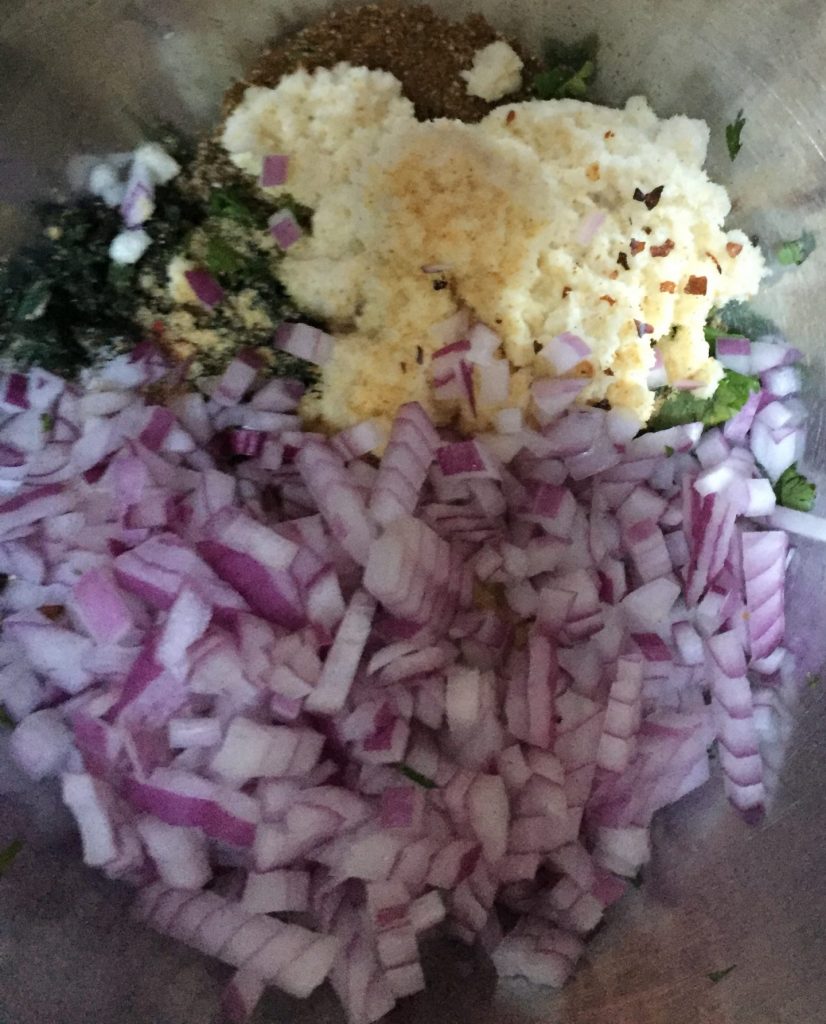
- 1 ½ pounds ground beef
- ½ cup finely minced red onion
- 2 Tablespoons nonfat powdered milk
- 2 tablespoons chopped fresh cilantro
- 2 tablespoons chopped fresh mint
- 1 tablespoon ground ginger
- 2 cloves of Garlic, minced
- 1 teaspoon cayenne
- ½ teaspoon salt
- ½ teaspoon freshly ground pepper
- Olive oil
Directions
- Mix the Ingredients with the ground beef. Do not over mix but get them mixed throughly to distribute the spices and herbs into the meat
- Chill in the refrigerator for an hour to set up
- Divide into eight and shape each in the form of a log. I make them with flat sides so it is easy to turn them to cook
- Heat a cast iron pan over medium heat and brush with olive oil
- Brush the kebobs with olive oil and cook them without crowding on the pan. You can cook over medium low with a partial cover on it so as to over cook the outside but be careful of moisture exuded from the kebobs. You DO NOT want to poach the meat.
- Make sure they are completely cooked.
Cous Cous
Ingredients & Directions
- 1 cup Cous Cous
- 2 cups water (Use the ratio recommended for your brand of Cous Cous)
- 1 ½ teaspoon ground cumin
- ½ teaspoon ground coriander
- ½ teaspoon ground turmeric
- Salt and ground black pepper to taste
- Place all the ingredients except the water in a flat pan
- Bring the water to a boil and immediately add to the tray and mix it well with a fork
- Wait for the cousin cousin to absorb all of the water
- Add a tablespoon of olive oil to the tray and fluff to mix it in completely. Use a fork if you are squeamish but I tend to don gloves and rub it between my fingers and palm
- Let it rest for five minutes and repeat twice more with a tablespoon of olive oil each time
- Reheat just before serving in a microwave
Raita … or Tadziki with a twist
Ingredients & Directions
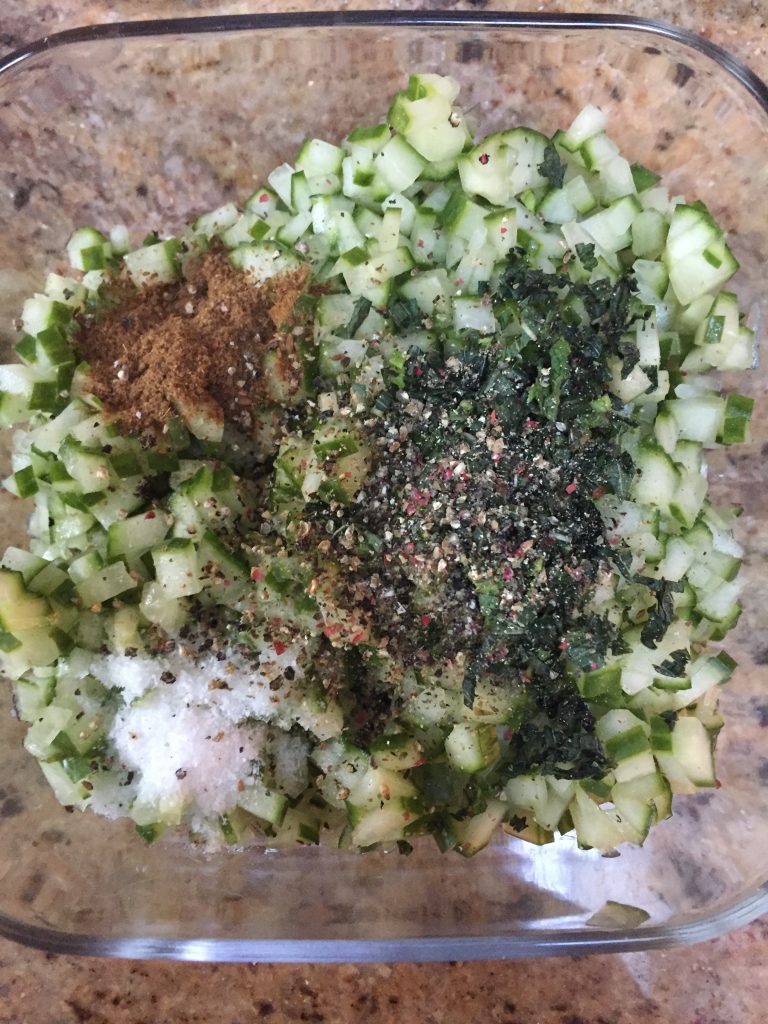
- 1 cup Greek Yogurt, Plain
- 1 tablespoon of minced fresh Mint
- ½ teaspoon ground Cumin
- ¼ teaspoon Salt
- Fresh ground black pepper to taste
- 1 medium English Cucumber, peeled, seeded and diced fine
- Mix all the ingredients together
- Taste and adjust salt and acidity(use lemon juice as needed)
- Rest an hour in the fridge before using
Serve the kebobs on a bed of heated Couscous dressed with the Chermoula. Serve the raita as the side
Chermoula
Chermoula is a dressing or condiment that spans across continents. Another name for essentially the same thing is Chimichurri. Chermoula is North African and Chimichurri is Argentinian.
Can’t you tell the North Africans were in Spain for a while….
My version hews closer to the North African version. The Argentinians tend to make theirs a little less aromatic and do not use cumin and sometimes add in roasted red peppers. This one has the cumin and some cayenne instead of red pepper flakes and I have used them interchangeably.
Ingredients
- ½ cup olive oil
- ½ cup lemon juice
- ¼ cup chopped fresh cilantro
- ¼ cup chopped fresh parsley
- 1 tablespoon minced garlic
- 1 teaspoon ground cumin
- ¼ teaspoon paprika
- ½ teaspoon cayenne
- Salt and freshly ground black pepper
Mix them well and let it sit. The flavours take awhile to blend together. An hour or two is good, but it gets better the next day. An aside here is that I have used lemon juice in this rendition but feel free to substitute with red wine vinegar. In fact if I am going to use it as a condiment with a steak, the sharper flavor of red wine vinegar is better
Baguettes, plain, non sourdough
I used to think that cake making etc. is an exact pursuit where you have to measure exactly and temperatures have to be exact and that bread baking is more slack in its requirements. However, I have come to realize that bakers no matter what they bake tend to be sticklers with a good healthy dose of OCD.
If you don’t want the gory details and just want the formula go down to the ingredients section. Also I use a Kitchenaid with a dough hook rather than knead for ever.
Bread makers have made up their own ways of measuring ingredients. For starters, serious bakers will never ever measure volumes, always by weight. This eliminates how tightly a cup measure is packed. Since they are weighing flour salt and yeast why bother measuring the liquids by volume. You weight the water you use!!! Most of the crusty breads like Baguettes, Batards etc originate in Europe so the measuring system has stayed in metric units. Measure it in grams, and if you are going to get serious and bake good bread, get a kitchen scale. If you think bah humbug, wait till the “Perfect baguette bug” bites you.
They also measure everything in relation to the weight of the flour used. Let me give you an example. The standard French baguette is also called a 60-2-2 baguette. So that translates to 100 parts by weight of flour, 60 parts by weight of water and 2 parts by weight of yeast and salt. Most baguettes start off with an unbaked dough weight of about 350 – 370 gms and will lose between 25 and 30 of their weight when baked. So if you want two baguettes the total weight of the dough being twice 350 or about 700 gms. To calculate the amounts of ingredients by weight, all you do is to total up the percentages, 100 + 60 + 2 + 2, 164.
So the flour weight needed is 700 divided by 164 multiplied by a hundred. Calculate the otehr weights from there. The list given below is for 2 baguettes of 350 grams each dough weight.
Ingredients
- 427 gms of Flour (AP is OK but Bread flour with a higher protein content is better)
- 257 gms water (Filtered with no Chlorine reside)
- 8.5 gms of Sea Salt
- 8.5 grams of All Purpose Yeast
Directions
- Hold back a few table spoons of water and add the rest and the flour to the mixing bowl of the mixer.
- Mix on low 2 and then on 4 to get the consistency of a shaggy dough.
- Rest on the bowl covered with a plastic wrap for about 45 minutes. The surface will start looking less shaggy and start gaining a smoother look.
- Add the yeast to one side of the bowl and the salt to the opposite side of the bowl. salt retards the yeast and so you want them to mix in the dough rather than mix immediately.
- Wet the two piles with the held back water.
- Start mixing on low and then increase speed in steps to about 5 or 6. Run on the higher speed for about 5 minutes to 7 minutes. The dough should detach from the sides of the bowl but still stick to the bottom. You can adjust by adding a few drops of water if it starts detaching from the bottom of the bowl and a bit of flour in half teaspoon increments if it sticks heavily to the sides of the bowl.
- When done the dough should be shiny and very stretchy.
- Proof as a ball in a well oiled bowl covered with plastic wrap. Deflate gently and re-proof twice after the dough doubles in size.
- Shape the baguettes and proof to double the volume.
- Score the top with diagonal slashes before baking as below
- Bake at 500°F for 20 minutes while rotating to avoid hot spots in the oven. Make sure to put a pan of water at the bottom of the over to keep moisture in the oven.
- At the end of the 20 minutes, take out the pan of water and drop the temperature down to 450 and bake another 10 minutes and rotate half way through
Bread Making… Revived
A long time ago I used to bake bread couple of times a week. Then life happened, Engineering Corporate career, two Children, schools lots of work travel etc., and it all went into hiatus. This corona virus induced isolation regimen and the resulting shortage of good bread at the stores prompted me to get the practice revived again.
The one thing I did different this time was I decided to concentrate and build my own sourdough practice; ergo, I acquired one and built another from scratch sour dough starters. I will post a separate entry on how to make your own sourdough starter. It is not that hard at all; all it requires is some patience and a few days of building it up.
There will stuff to throw away from the building sourdough, but collect all of the discards in a separate container, keep it in the fridge and use them to make sourdough pancakes. They turn out pretty darn good.
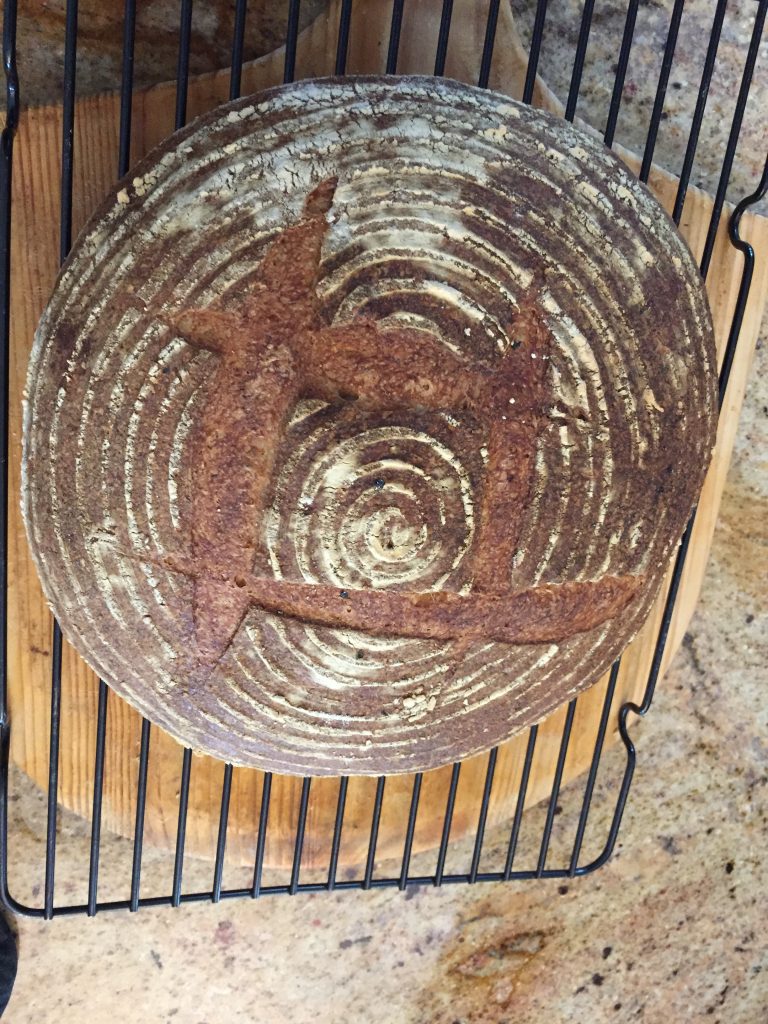
Went back into the bin in the basement where we had stored the acquired accoutrements to bread making and found my wicker banetton, my cloche scraper etc. My couche, the cloth to proof your loaves, I think is not quite there; it smells a little musty. I cannot find my Lame either… But I have made a few batches of sourdough baguettes while figuring out the oven and baking temps and the last one I made was a Miche with 50% whole wheat flour.
A summer appetizer
Spring is struggling to make its presence felt in New England even as we get to mid May. I thought I would describe a mid summer kind of appetizer that is both easy to make, pretty spectacular to look at on the table. It is very tasty and touches all of your taste sensations….
Ingredients
- Seedless Watermelon
- Feta Cheese
- Fresh Mint leaves
- Balsamic glaze(Store bought is OK)
- Flaky Sea Salt (My personal favourite is Fleur de Sel or Maldon salt)
Directions
- Chill the watermelon halves in the fridge. This will make the cubing easier. With a clean sharp knife, cube the watermelon into 1 to 1 ½ inch cubes.
- Arrange the cubes on a chilled serving plate
- Top with a little cube of Feta Cheese and a single young Mint leaf
- Keep in Fridge till ready to serve.
- Use a Paper towel to soak up and wipe off any watermelon juice that exudes from the cubes
- Drizzle Balsamic glaze an a flake of Fleur de sel on each cube just before serving.
This dish covers most your taste sensations, sweet from the melon, fruity and sour from the balsamic glaze, salt from the Fleur de sel and the herbaceous from the mint.
Goes great with a demi sec Washington state Riesling, a Pinot Grigio, or even a Prosecco. My personal favourite for this would probably would be a Rías Baixas from Spain.
I am baaaack……
I had a few mishaps including a php incompatibility issue. My problem with my original site was that I had a bunch of custom stuff that I had put in my page. These led to the site breaking when WordPress moved to a different version and it took me a bunch of time before I sat my arse down to fix the incompatibilities. It also meant I had to go through some old code that I had written which was not well commented and I had to do detective work on 10 year old code.
Life also happened with the death of a dog, acquisition of a new dog; kids out to college, back from college; starting to learn to play the violin that I inherited from my grandmother, and of course recently the coronavirus….
The hiatus and quarantining because of the pandemic allowed me the time to do things that needed to get done to get this site working again properly…
A little Hiatus… and the return
I have been away awhile since life kind of got crazy.
Our dog, Baxter fell ill and it ended up being a brain tumour. We went through the radiation therapy etc., and are now in the dog is getting better but we don’t quite know how long we have with him. Granted it looks optimistic in prognosis, but I cannot bring myself to believe enough for fear of the greater disappointment if greater hopes are not fulfilled.
Nathan is going off to College soon and as a High school graduation present, I had promised him a father – son pub crawl. The fares to London ended up being crazy so we decided to find a closer environs, Montreal. Went there for 4 days and did 3 or 4 pubs a day drinking half pints. Absolutely loved the experience of the dad-son camaraderie and bonding that we had. In fact, I will post something on the Montreal pub-crawls soon.
Now, I am trying to organize my life around the fact I have to take Nathan up to college end of August as well as the family vacation up in Vermont in early August.
But now that I have run out of excuses, I will do a couple of posts in quick succession…
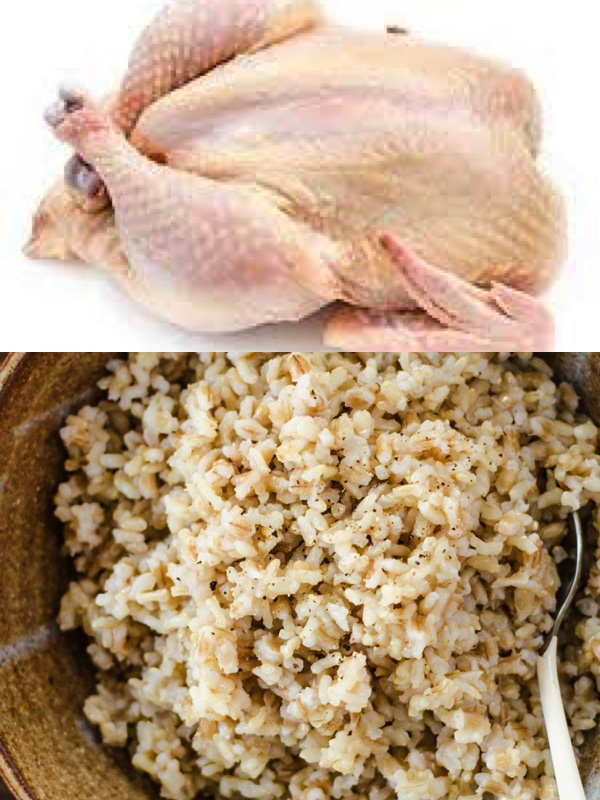
Chicken and Rice, World citizens….
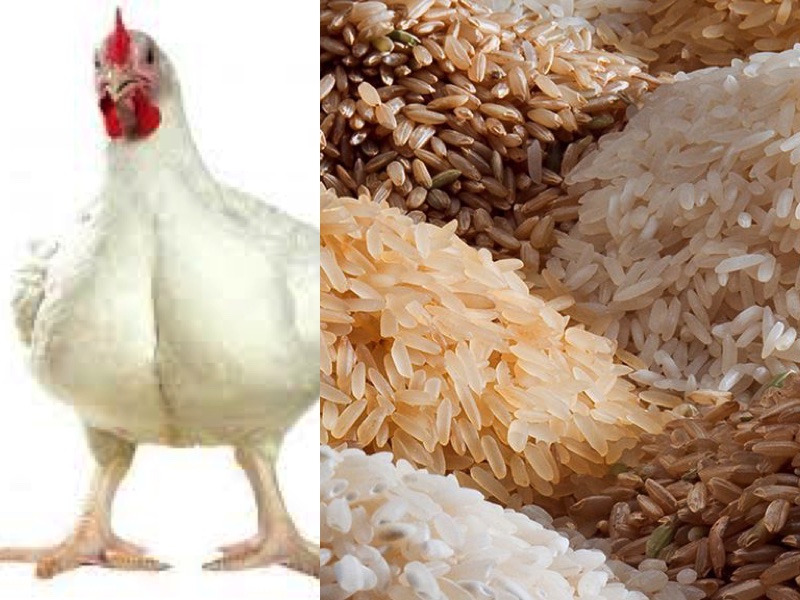
I thought I was going to put up a chicken and rice recipe that I did at home. But when I started thinking about it, I realized that these two ingredients have travelled the world together and should actually qualify as World Citizens.
What I mean by that is that there are versions of chicken and rice together from all over the world. The following is a list that comes to mind and by no means is this an exhaustive list.
- Arroz con Pollo – this aptly named dish literally “rice with chicken”has multiple variations. A lot of the Latin American versions are very similar but a few distinctive ones are
- The Cubano – One pot meal with Green Peas and Red bell peppers
- The Mexican version – the minimalist version
- Arroz con Pollo chapina from Guatemala where it is cooked with green peas and Olives and garnished with sliced hard boiled eggs
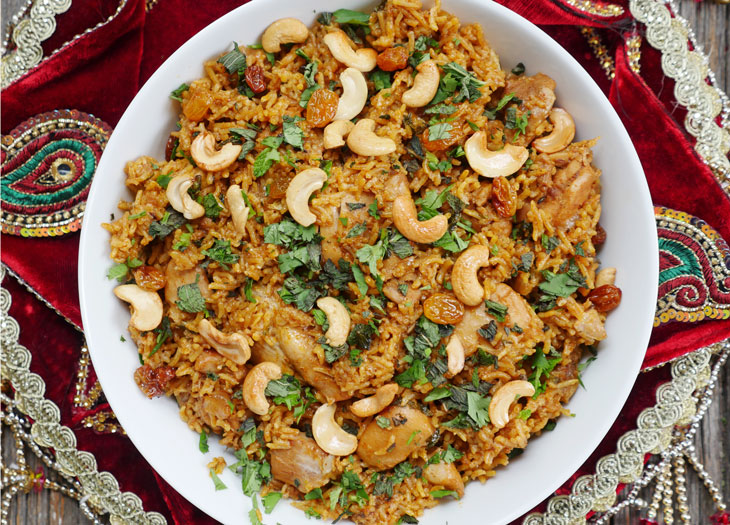
- Riz ala` dajaj – Lebanese or Middle Easters in Origin. Nuts, Spices and dried fruit can make an appearance is versions of these. In addition, ground lamb or sometimes beef is browned and then the rice is toasted from the fat exuded from the meats before cooking the rice to increase the depth of flavour of the rice
- Nohitlu Pilavi – Turkish, think Pilaf and you will realize where the word Pilaf came from. Rice Pilaf with Chicken and Chickpeas. Eat it piping hot with the ubiquitous Turkish Yogurt drink Ayran… (an aside here, ayran is close to the lassi from India… thinner in consistency. In fact it is very close to the south indian salty butter milk drink served on really hot muggy summer days)
- Chicken and Orzo from Italy – Classic easy meal Italian style. I have even eaten it served with Acini de Pepe
- When you venture to the far east or south east Asia these two ingredients go together all the time no matter how they are prepared together or apart. Every chicken curry tends to show up with steamed rice on the side, be it from Sri Lanka, or any of the 20 different varieties originating from whichever state of India it is, or Thailand or Malaysia. There is one special one that I will give its own banner here
- Chicken Biriyani – Hails from the Southern Indian state of Andhra and comes closes to Arroz con Pollo, but for the fact it is drier than varieties of those. I may put up a recipe that I cook for Chicken Biriyani as a separate post. But this dish aromatic with heady smells of Cinnamon, Cardamom and fennel and assembled as layers of cooked rice, vegetables like petit pois and cut carrots, crispy fried onions and chicken. Think of lasagna to get the effect. One goes down vertically through the dish as it is served with the layers intact and pick up a bit of each layer in each mouthful.
- New Orleans with its fun mixture of Creole and the French has two variants on the chicken and rice theme
- Chicken jambalaya – while this has some smoky sausage to help it along , it really is a chicken dish with rice…
- Chicken Gumbo – Cooked with Okra and Gumbo filé (sassafras) but served with rice…
- Spanish Paella – While you can get Paella of every kind from Seafood to Paella Verdura you still got to love the fact that the most classic version of Paella you get has shrimp, sausages and you guessed it Chicken… with Bomba rice cooked with them flavoured with Saffron!!!
There is always the variants that creep up… Take turkish Nohitlu Pilavi, cut down on the rice, add more broth and flavour it with a bit more and make it into a soup. Once I made a Chicken and rice Soup with chick peas except it was flavoured with wild thyme, Sumac and toasted sesame seeds and the chicken was cooked with Zaater…. (future post)
Suffice it to say Chicken and Rice walk through the world hand in hand
Cous Cous with CHICKEN (Yep I said Chicken)
Traditionally Cous Cous with a Meat and Vegetable stew is always Lamb. I have played with this before by using Beef; I tend to use something like chuck or other tougher stewing kind of cuts of Beef instead of cubed Lamb leg or shoulder. I decided it was time to really play with this and use Chicken instead. I did use dark meat aka thighs. Breast or tenders would have been way too tender a meat and would probably dissolve into the stew. The thing to watch out for is that chicken would cook faster and therefore the times have to get adjusted as to when to add the secondary ingredients.
Ingredients
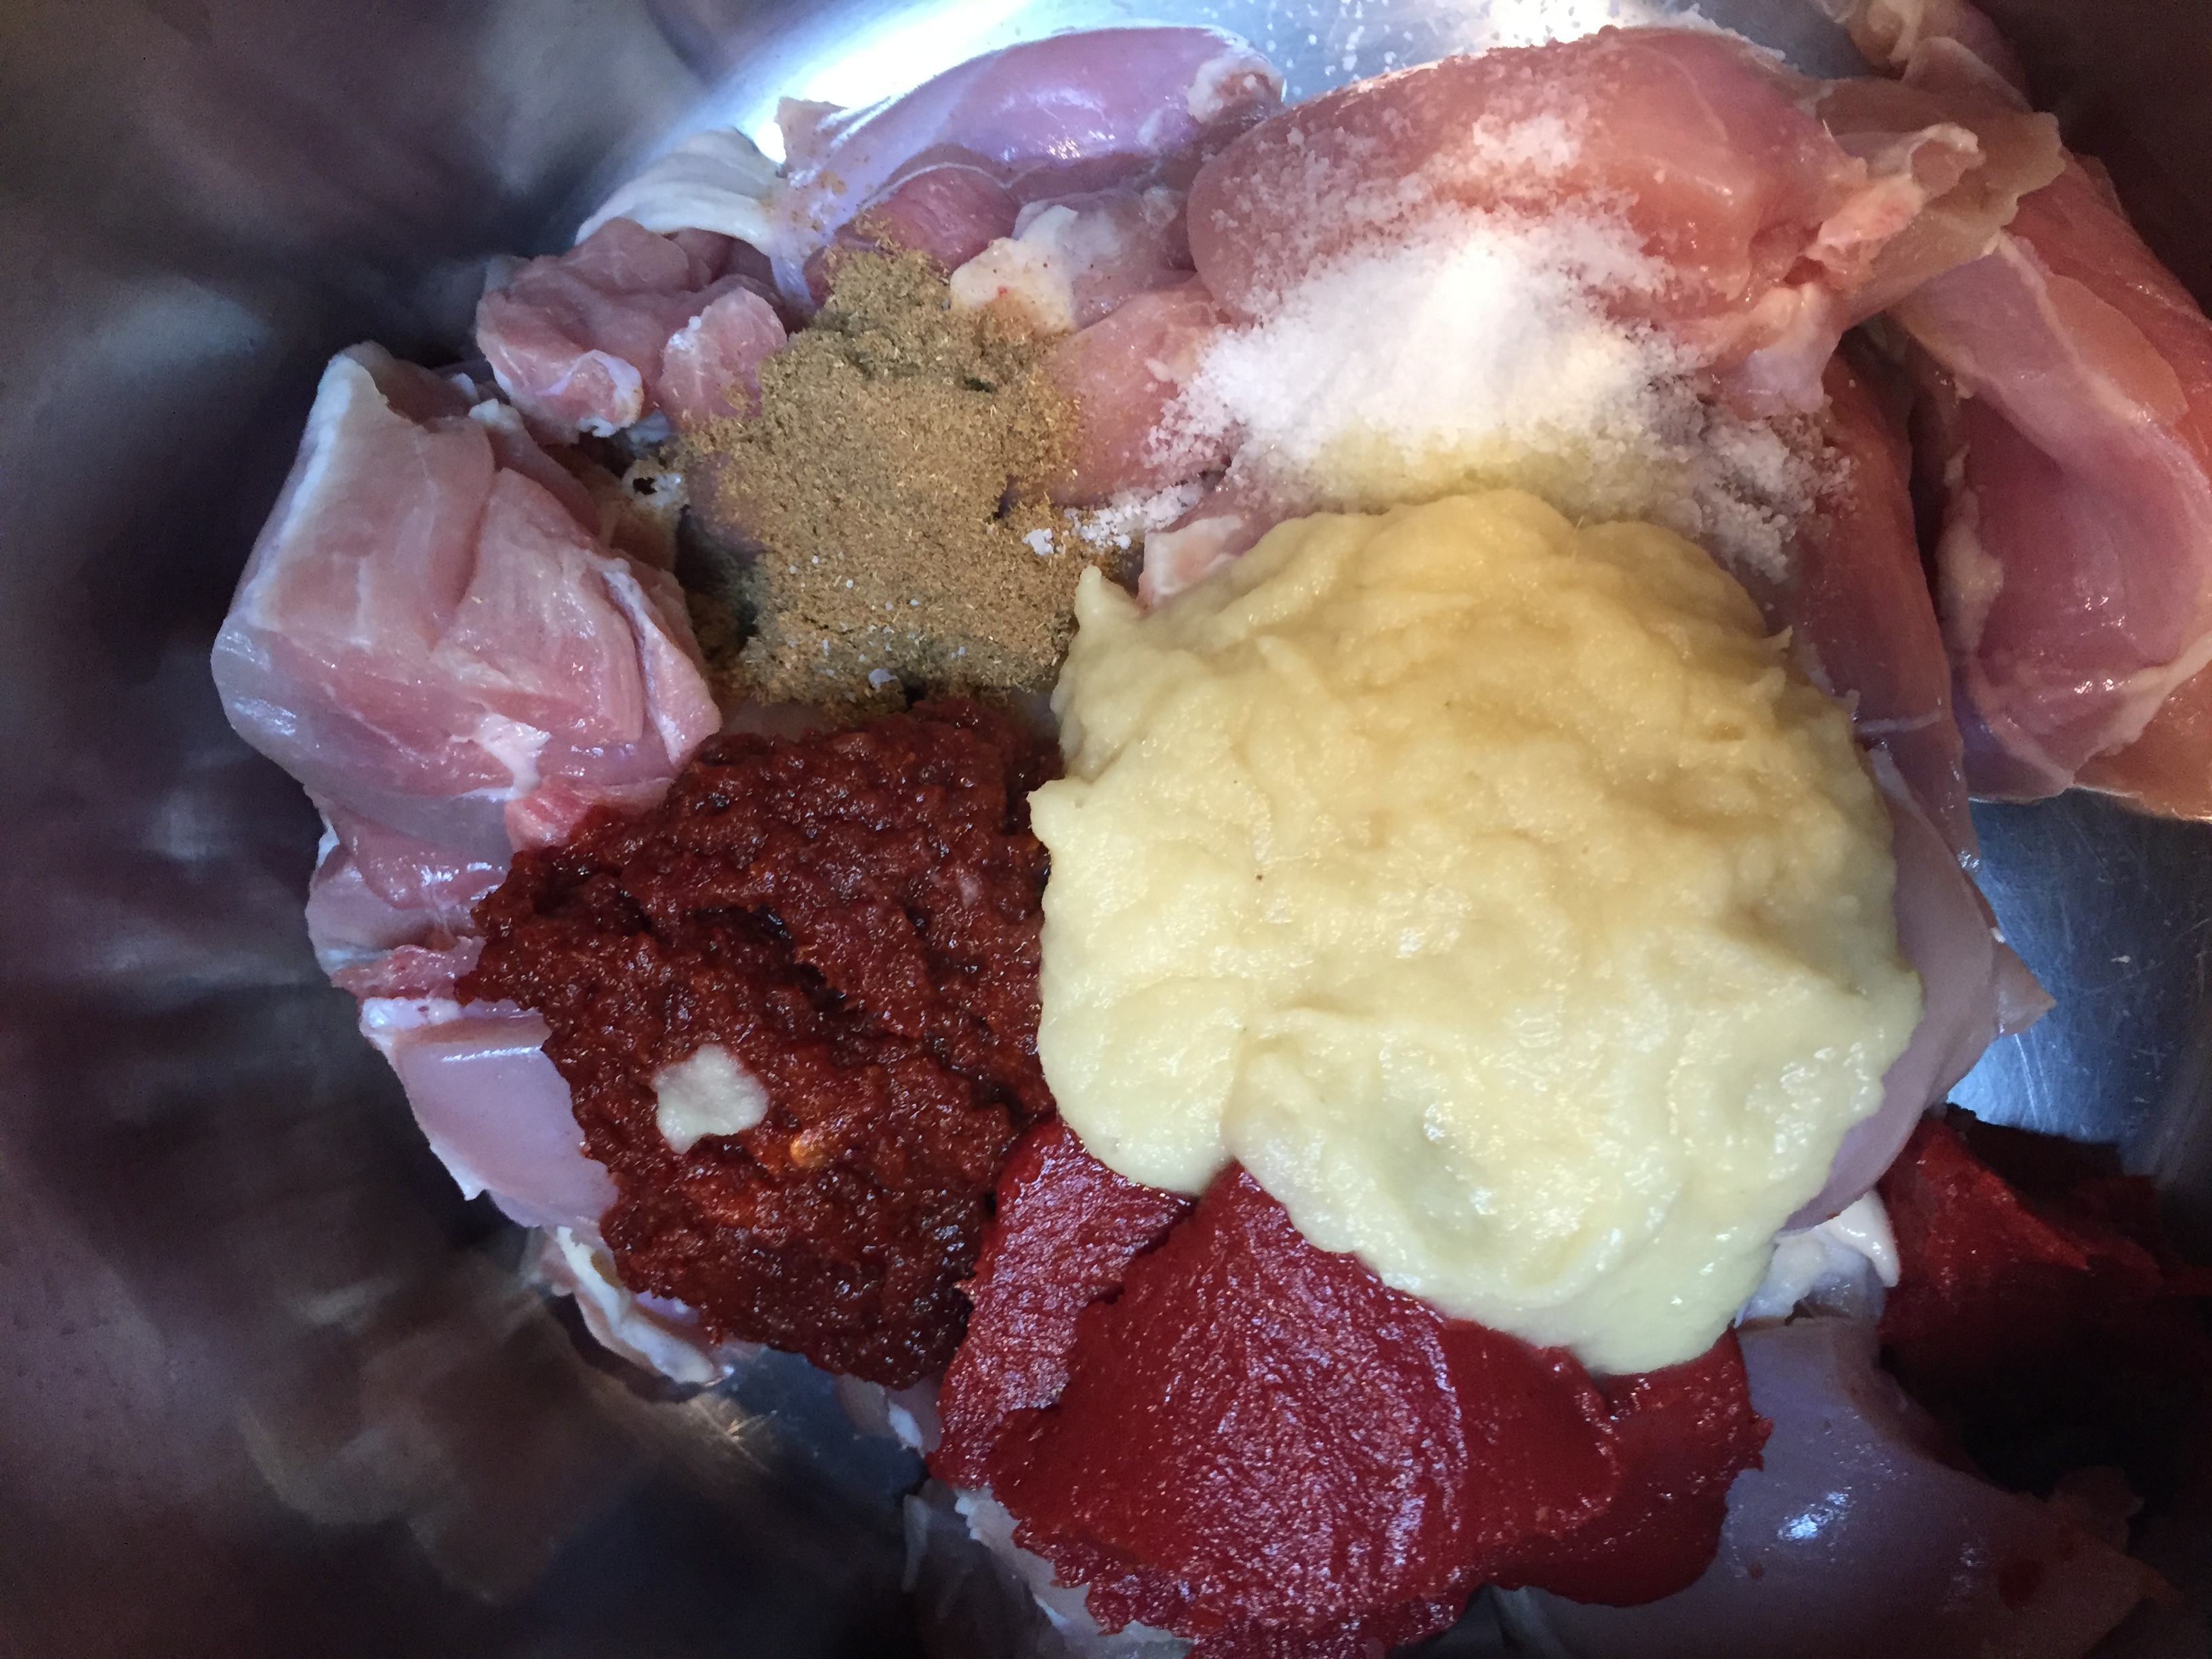
- 1½ lbs Boneless Skinless chicken thighs cut into 2 inch chunks
- 2 Tbsp Harissa (I have made it… will post recipe, I have also used canned from Ed Hyder’s Mediterranean market Place in Worcester…)
- 5 medium to large cloves of garlic
- As much chunks of peeled ginger as garlic
- 2 Tbsp Tomato Paste
- 2 tsp powdered cumin
- Salt to taste
- 1 tsp of Cayenne powder (optional); use less depending on your tolerance for heat..
- 2 cups of chicken stock and 2 cups of water; you can use all water with very little loss of flavour
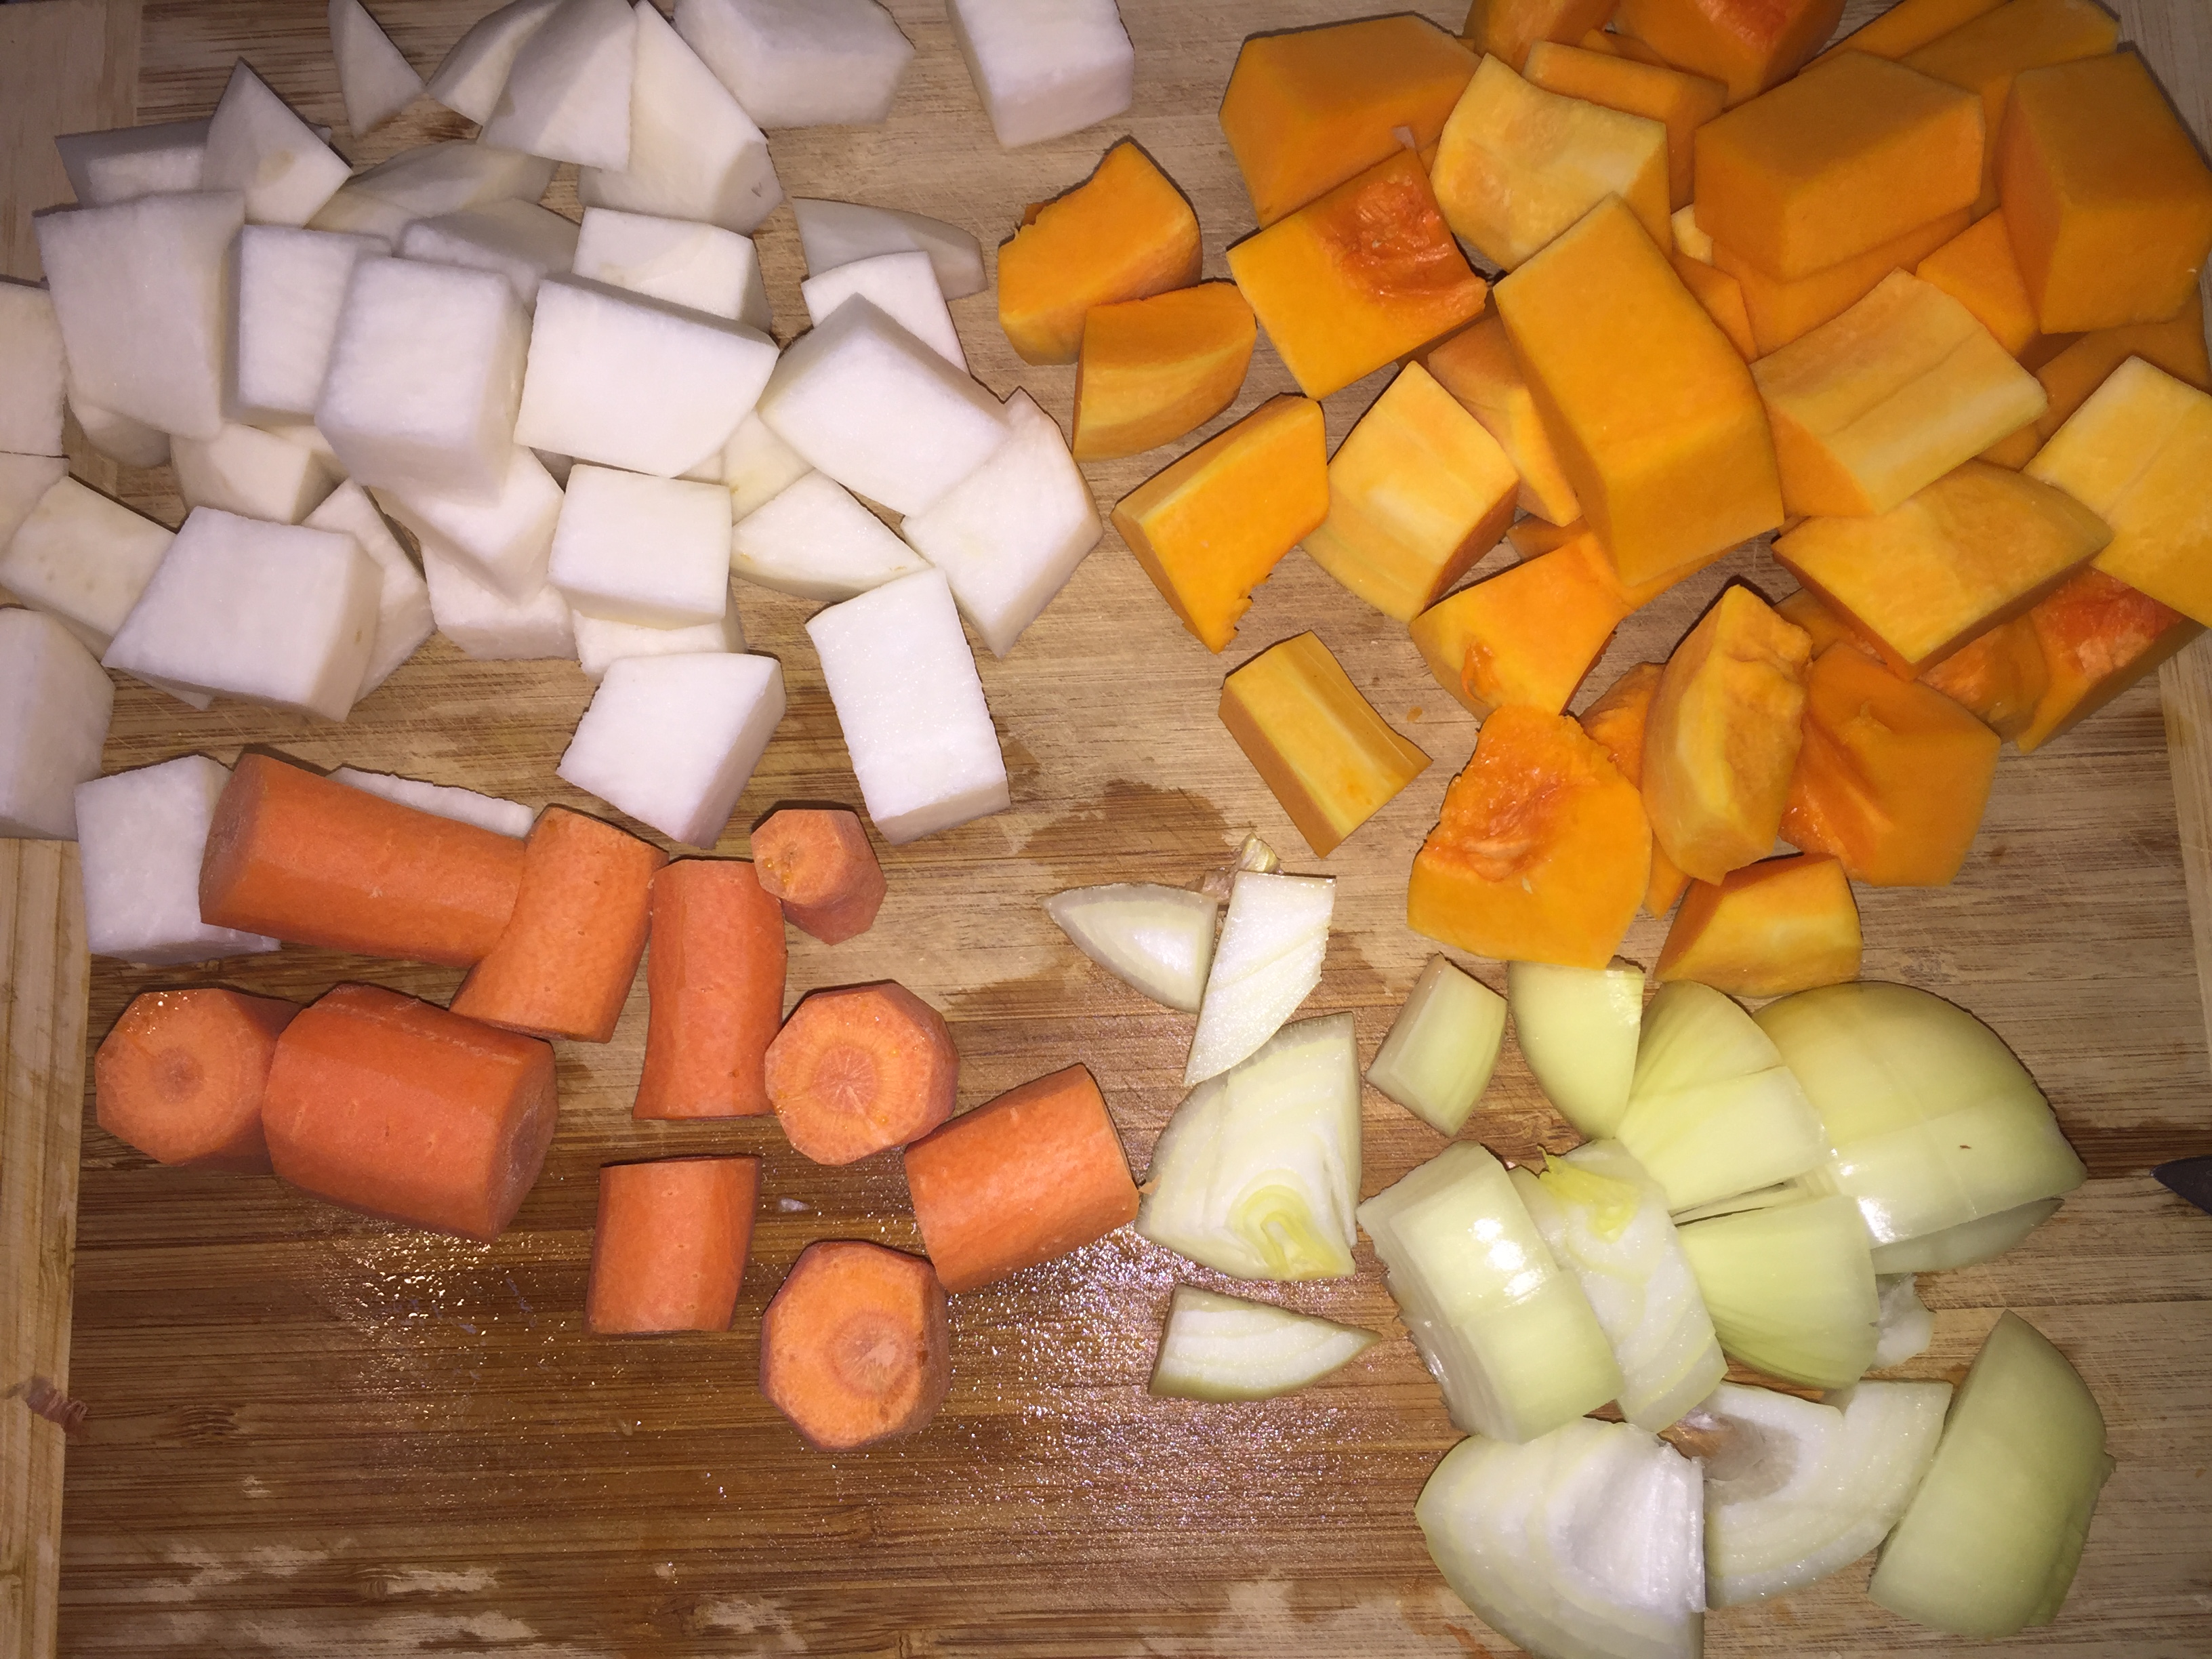
- 1 Purple-top Turnip, peeled and cut into ¾” chunks
- 1 Large onion chopped (big)
- 2 Carrots peeled, cut into ¾” chunks
- ½ small butternut squash, peeled, seeded, cut into 1″ chunks
- 2 large ripe tomatoes, cored and chopped
Directions
- Put the garlic and the Ginger in a mini chop and blend well. Use a Tbsp of water to aid in the blending.
- Place the ingredients (chicken … Salt), including the blended ginger-garlic paste in a large stock pot
- Add the stock and water mixture
- Stir and bring to a boil
- Reduce heat to achieve a gentle boil and cook for 20 minutes
- Add the carrots, turnips, onions and the butternut squash (Parsnips are another perfect addition at his point) and bring it back to a gentle boil and continue for 15 minutes.
- Add the chopped tomatoes and continue boiling for 10 more minutes.
- Check that the thighs are completely cooked. They should be.
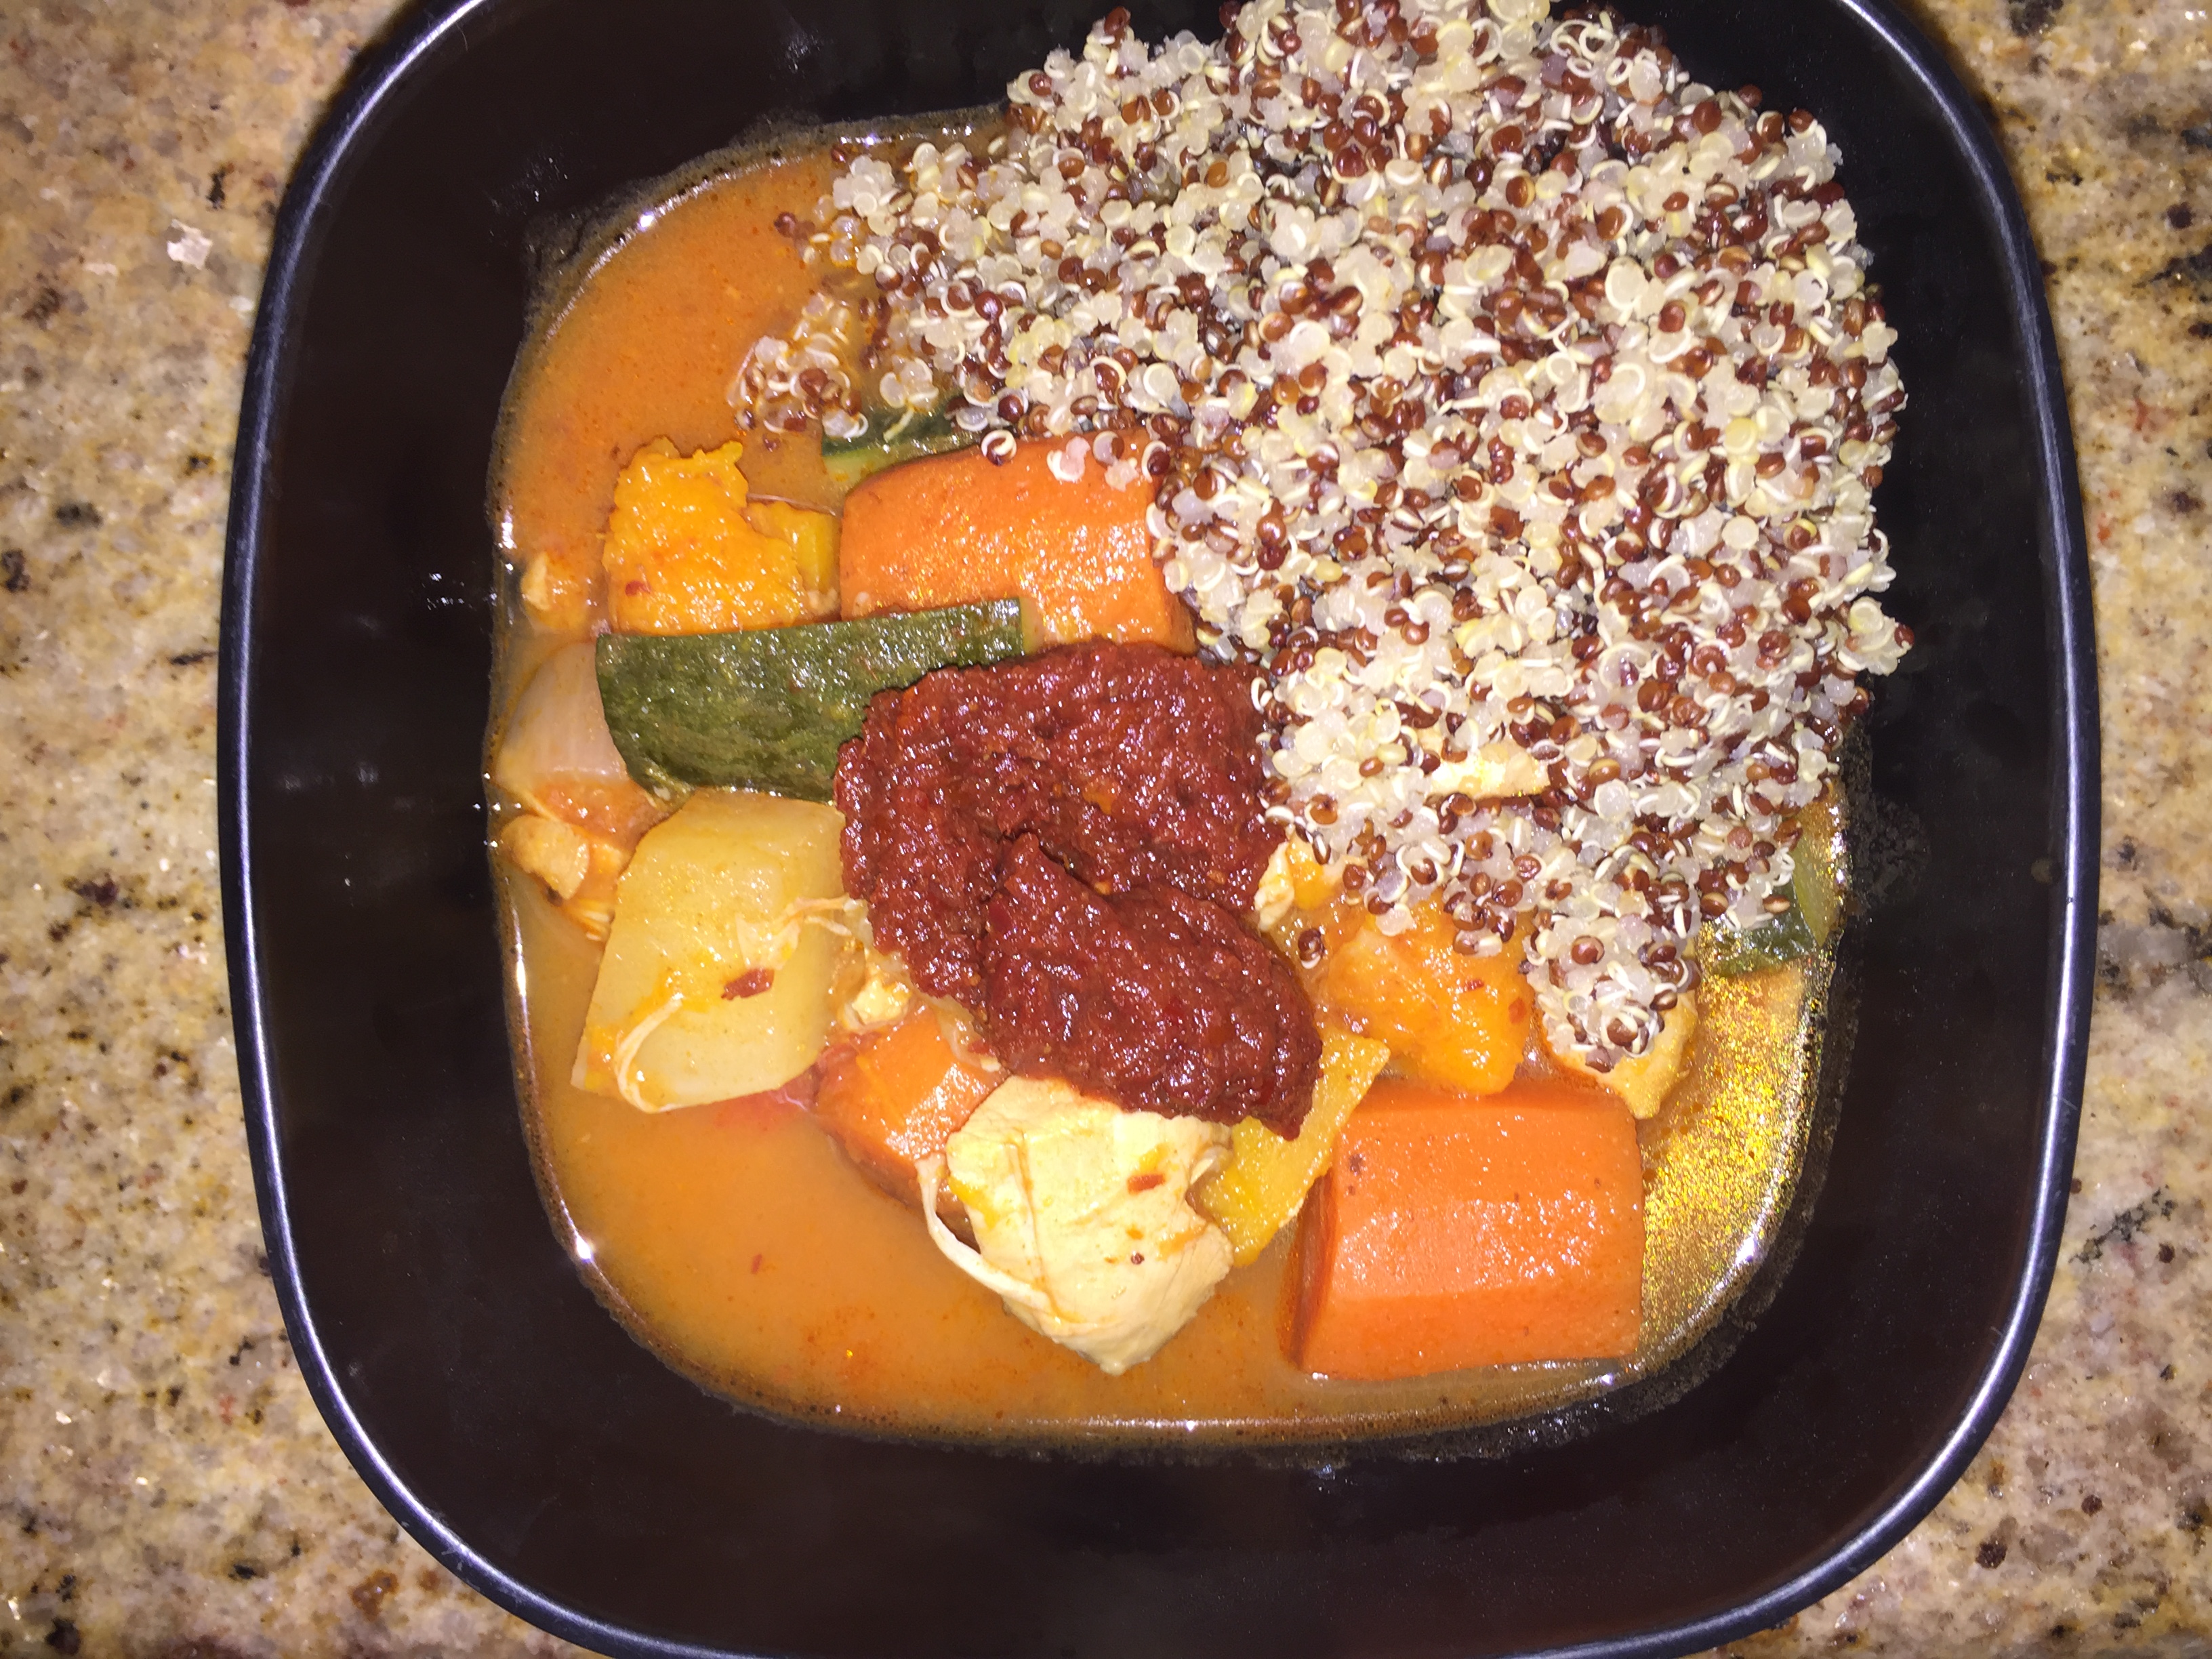
Serve in a bowl with Cous Cous and a robust white wine like a Verdejo, Rias Baixas or even an Alberiño. This dish has enough muscle to stand up to a red; in that case look for a fruit forward red. The spices call for the fruit.
The bowl above, mine, I ate it with Quinoa instead of the Carb heavy Cous Cous with an extra dash of Harissa…
Enjoy!!!